In last tutorial I wrote how to use Adafruit GFX library for GLCDdisplays. This time I would like to explain how to use GLCD custom font using ESP8266.I will continue from last project. We only need two things. Our custom font in form of .h file and a few lines of code to include it in our project.
First let’s look on how to create our font. If we don’t have the font we want there are a lot of free ones. For example at 1001 Free Fonts. Let’s take on from there, for example Coolvetica which is totally free:

Now that we have .ttf file we go to truetype2gfx web page.


Now that we have the file in our project…

First we need to include .h file. Add #include “coolvetica15pt7b.h” ath the end of ncludes. See below:
|
1 2 3 4 5 |
#include "Arduino.h" #include <Adafruit_GFX.h> #include <Adafruit_ST7735.h> #include <SPI.h> #include "coolvetica15pt7b.h" |
Next we need to set the font to this one. Se the line after initR
|
1 2 3 4 5 6 7 8 9 10 |
void setup() { tft.initR(INITR_BLACKTAB); tft.setFont(&coolvetica15pt7b); tft.setRotation(1); tft.fillScreen(GLCD_Color_White); tft.setTextColor(GLCD_Color_Black); tft.setCursor(10, 20); tft.print("Hello world!"); } |
If we try to compile at this moment there is error that the file is already defined somewhere else. We will correct this with one line of code at the end of font file. We add #pragma once at the end of .h file (see below):
|
1 2 3 4 5 6 7 |
const GFXfont coolvetica15pt7b PROGMEM = { (uint8_t *)coolvetica15pt7bBitmaps, (GFXglyph *)coolvetica15pt7bGlyphs, 0x20, 0x7E, 31 }; // Approx. 3128 bytes #pragma once |
Now it will compile and work:
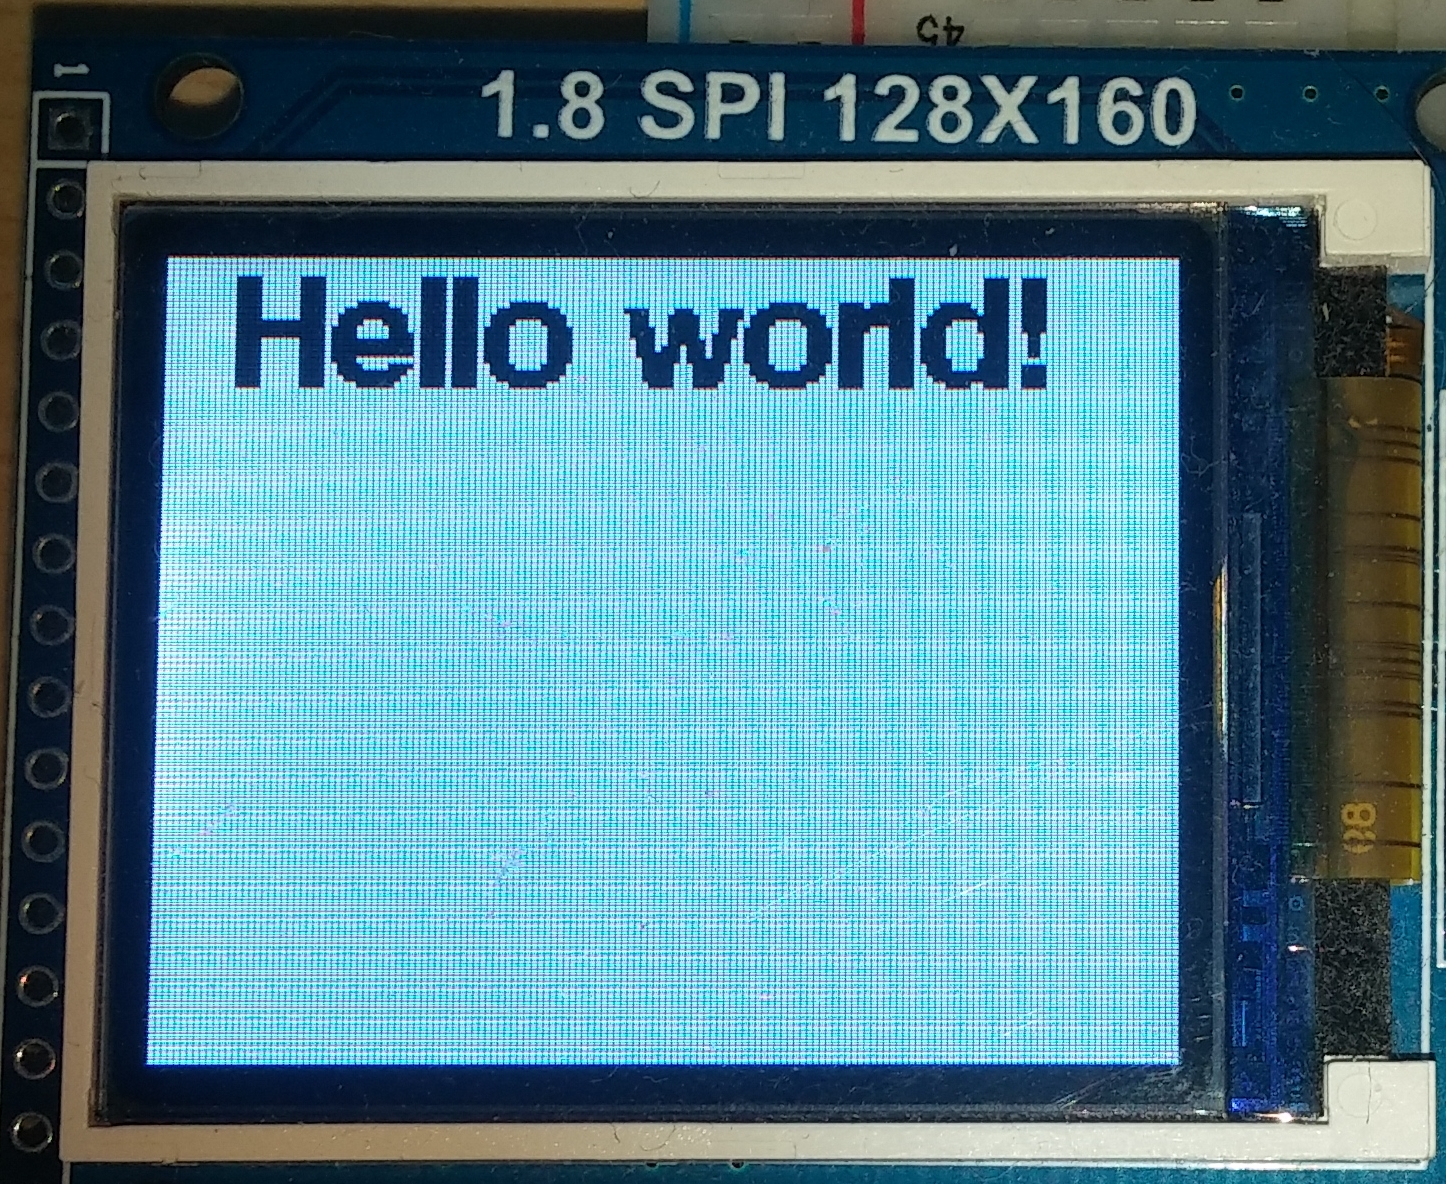
Now we have oru GLCD custom font using ESP8266.
Sometimes if you change from one font to another there is problem that sloeber.ino.cpp does not get updated and there is still old font included. You can solve this by goint to Project -> Clean… and clean and recompile your project and it will work.
Thank you for reading!
Slemi